Building a Home Server
Since I do more playing around with different operating systems, services and applications than ever these days, I’ve found myself using lots of storage and lots of virtual machines.
I decided to invest in a simple home server with ample redundant storage and processing power/memory to run a number of virtual machines using the excellent VMware ESXi 6.
In addition, the machine will run the household phone system (powered by Asterisk); a NAS for CCTV recording and also general use; and perhaps in the future, pfSense to replace my terrible ISP-provided router-like-object.
I Like HP Microservers
I like the HP (or rather HPE) Microservers. They have a nice form-factor, good extensibility in terms of RAM & CPU (particularly now they’ve opted for socketed CPUs rather than BGA ones used in the previous generation Microservers). They’re fairly quiet and fairly energy efficient out of the box.
While they’re certainly not the latest and greatest, I decided to base my build around the HPE Microserver G1610T Gen8. HPE were offering the usual cashback deal (£55 now £60 postal rebate), so it was a good time to buy one too. After the discount, the base server cost £127.
HP also offer the ML10 Gen9 tower form-factor server that packs a Pentium™, Core™ i3 or Xeon™ E3-1200 v5 series processor out of the box, as well as DDR4 RAM over the Microserver’s lowly DDR3. For £205 (£145 with current cashback deals) for the base Pentium™ model, I think this is a nice contender too.
There are other options besides HPE too. Dell offer the low-priced PowerEdge T20 server which, while having a slightly larger form factor and higher power consumption, does pack a little more horsepower than the Microserver Gen8.
Processor
The Microserver Gen8 ships with an Intel™ Celeron® G1610T CPU with a 2MB cache and a 2.3GHz clock speed. Unfortunately, Celerons suck. They’re low-end, budget CPUs aimed at the consumer market; designed to be cheap. They don’t support Intel VT-d (Directed IO) either, so they’re not good at all for any kind of virtualisation environment.
The most important considerations in picking a replacement processor for the HP Microserver Gen8 are power - thermal and electrical.
Firstly, the Microserver has a heatsink rated for a maximum processor TDP (Thermal Design Power) of 35W. Now, that doesn’t necessarily mean you’re limited to a 35W TDP processor - you can push the envelope a little bit.
Secondly, the power supply in the Microserver Gen8 (A Delta Electronics DPS-200PB-189A) is only 190W. If you’re planning to have all 4 disk slots filled, along with a PCI RAID controller, you’re not going to have too much to play with in terms of wattage.
I spotted a decent deal on eBay - a Intel™ Xeon® E3-1260L for £135. It has an 8MB cache and a slightly-faster 2.4GHz clock speed. This is also one of Intel’s low-voltage low-TDP processors ideal for a situation like this where we’re pretty tightly limited on TDP. The TDP is still 10W above the rating of the Microserver’s heatsink, but you’re unlikely to observe any thermal problems even under 100% load1.
These do seem pretty difficult to come by in the UK for non-silly prices, so keep your eyes peeled on eBay - that’s where I got mine.
Memory
The HP Microserver Gen8 does require ECC RAM. It’s worth keeping that in mind while shopping for memory upgrades. I did try some Non-ECC RAM and the system just hangs at the “Initialising memory/QPI link” early POST step.
If you’re going to run a virtualisation environment like ESXi, you’re going to eat memory. I was tempted to just spring for 8GB at first, but it wasn’t too much more money to go the whole way and provision the maximum 16GB of RAM (two Kingston KTH-PL313L/8G 8GB 1333MHz DDR3 modules from Amazon), which cost £88.
While HP specify that 16GB is the maximum, I have read some accounts that the Microserver Gen8 may support 32GB of RAM (in the form of two 16GB modules. Who knows if that’s true, though.
Storage
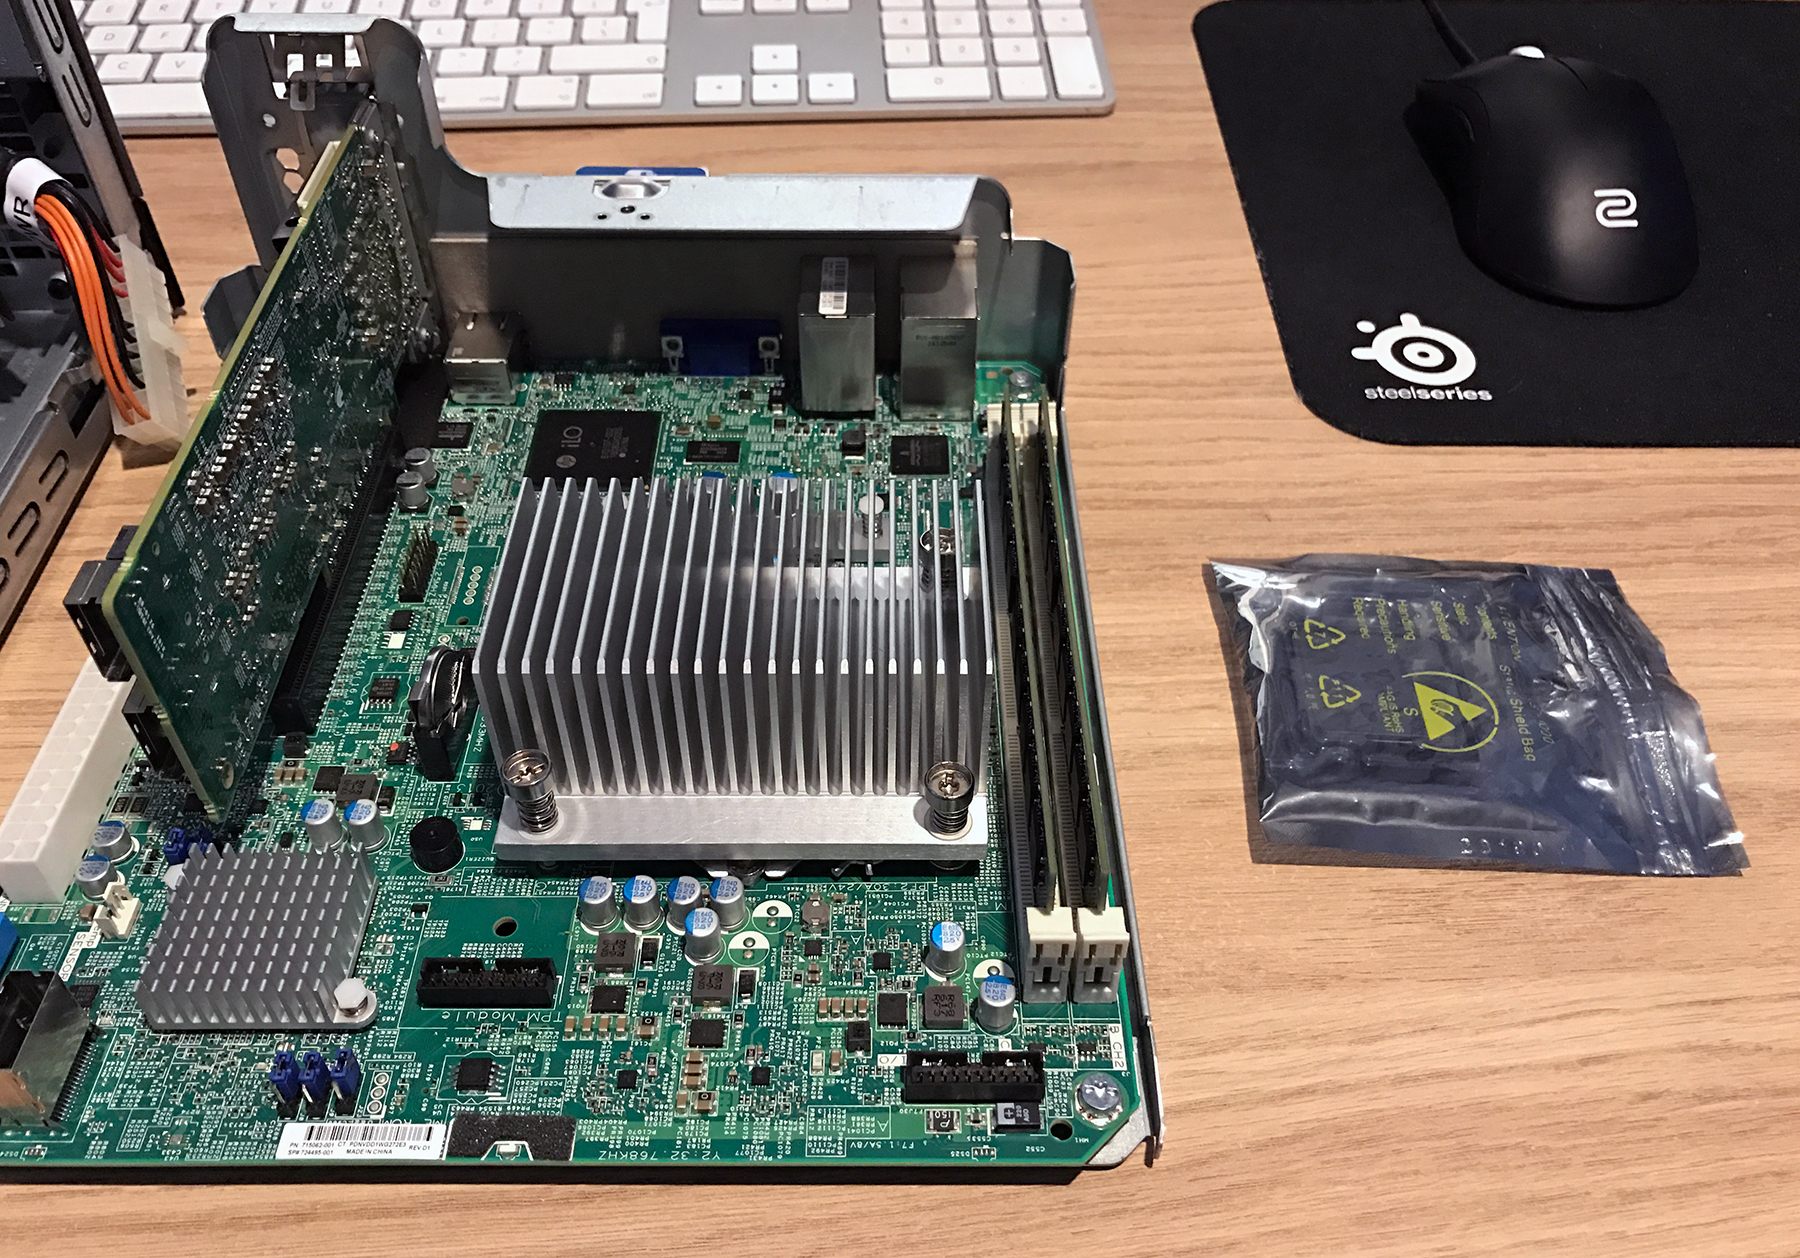
The HP Microserver Gen8 has an embedded SATA RAID controller that HP calls the B120i Smart Array controller. It’s not great. It’s a “Fake RAID” controller. Basically that means that most of the work is done by a proprietary driver running on the main CPU rather than dedicated hardware. Additionally, the read-cache for the storage controller is provided by the main system memory rather than a separate area of dedicated memory.
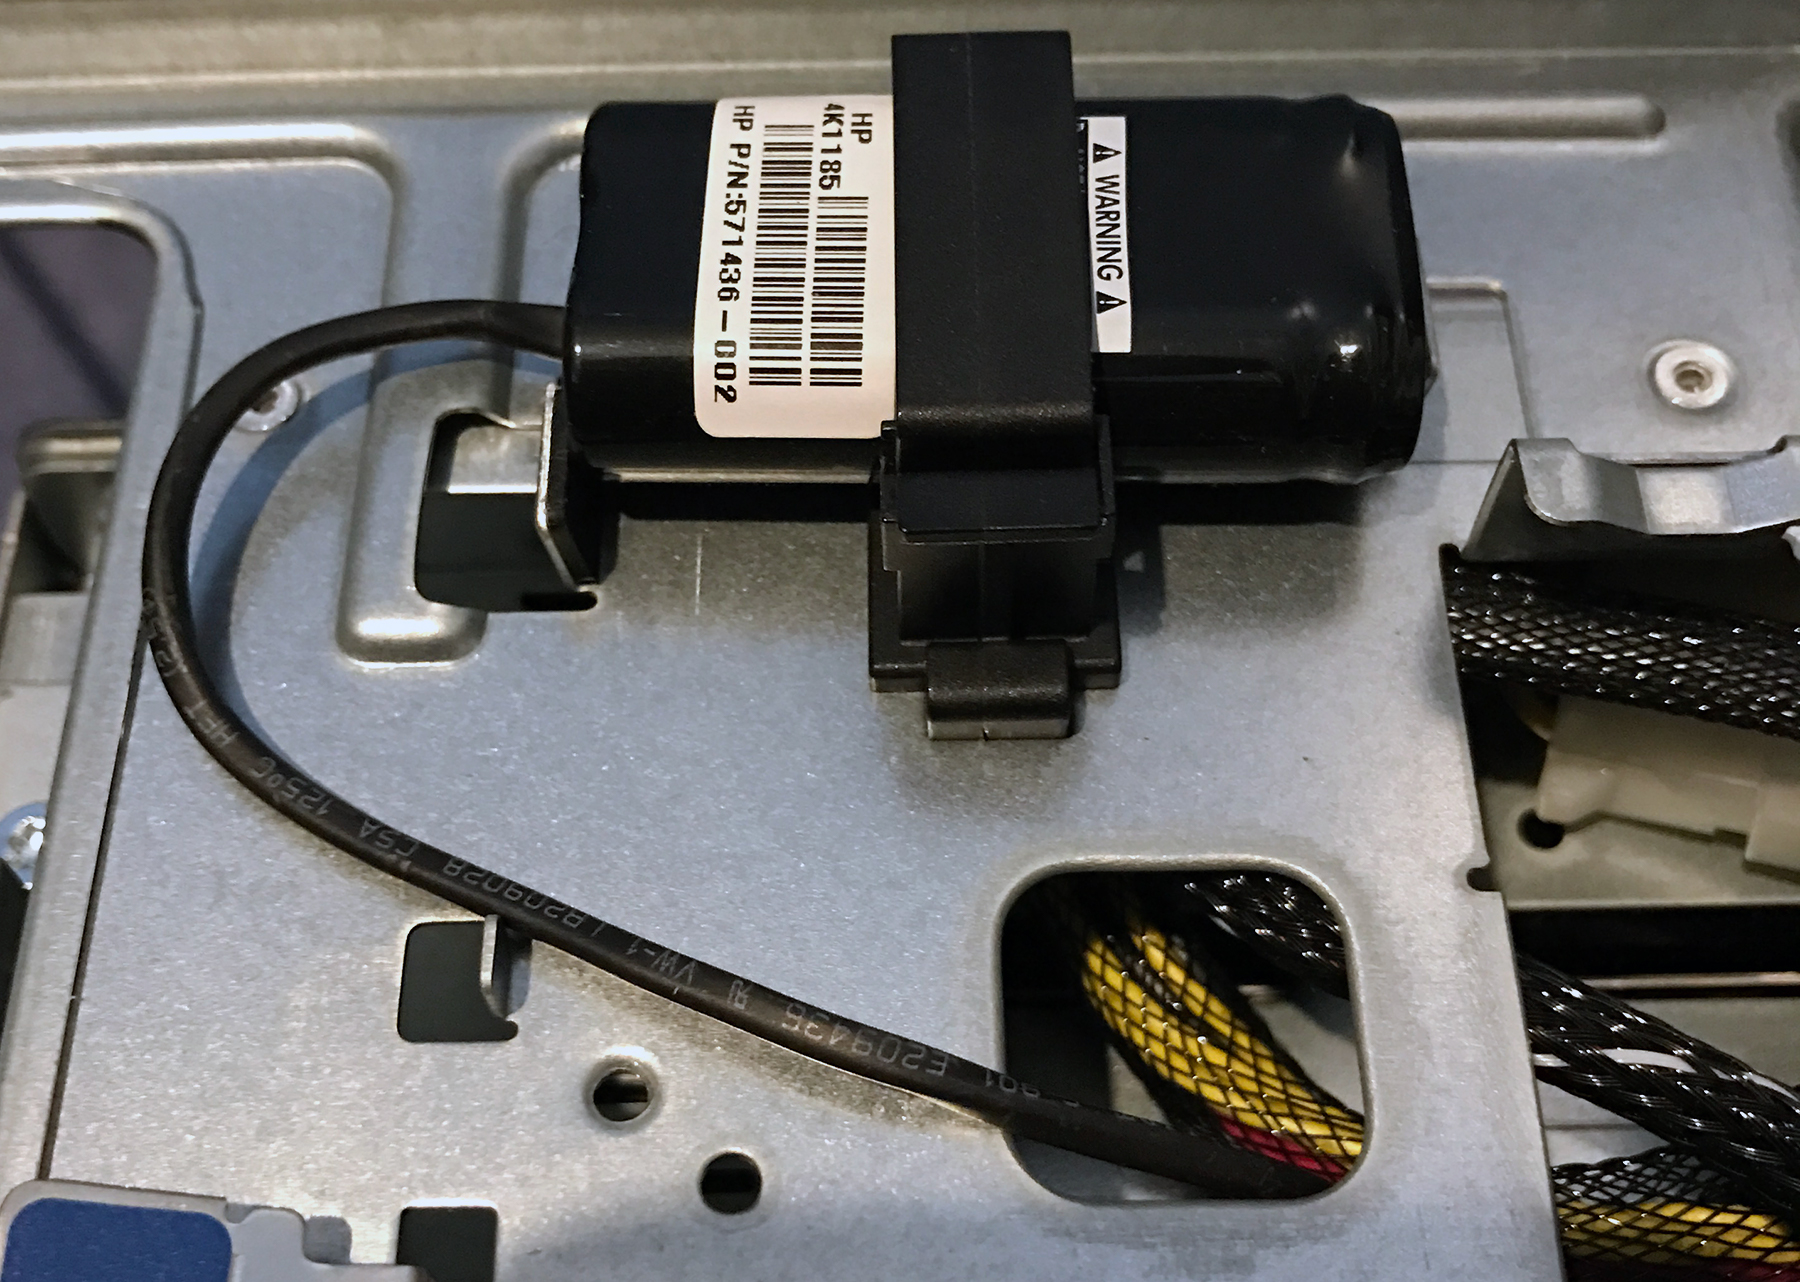
I spotted some ex-datacenter RAID controllers going cheap on eBay, and decided to go for a HP Smart Array P410 SCSI (SAS) RAID controller, with a 1GB Flash-Backed Write Cache (FBWC).
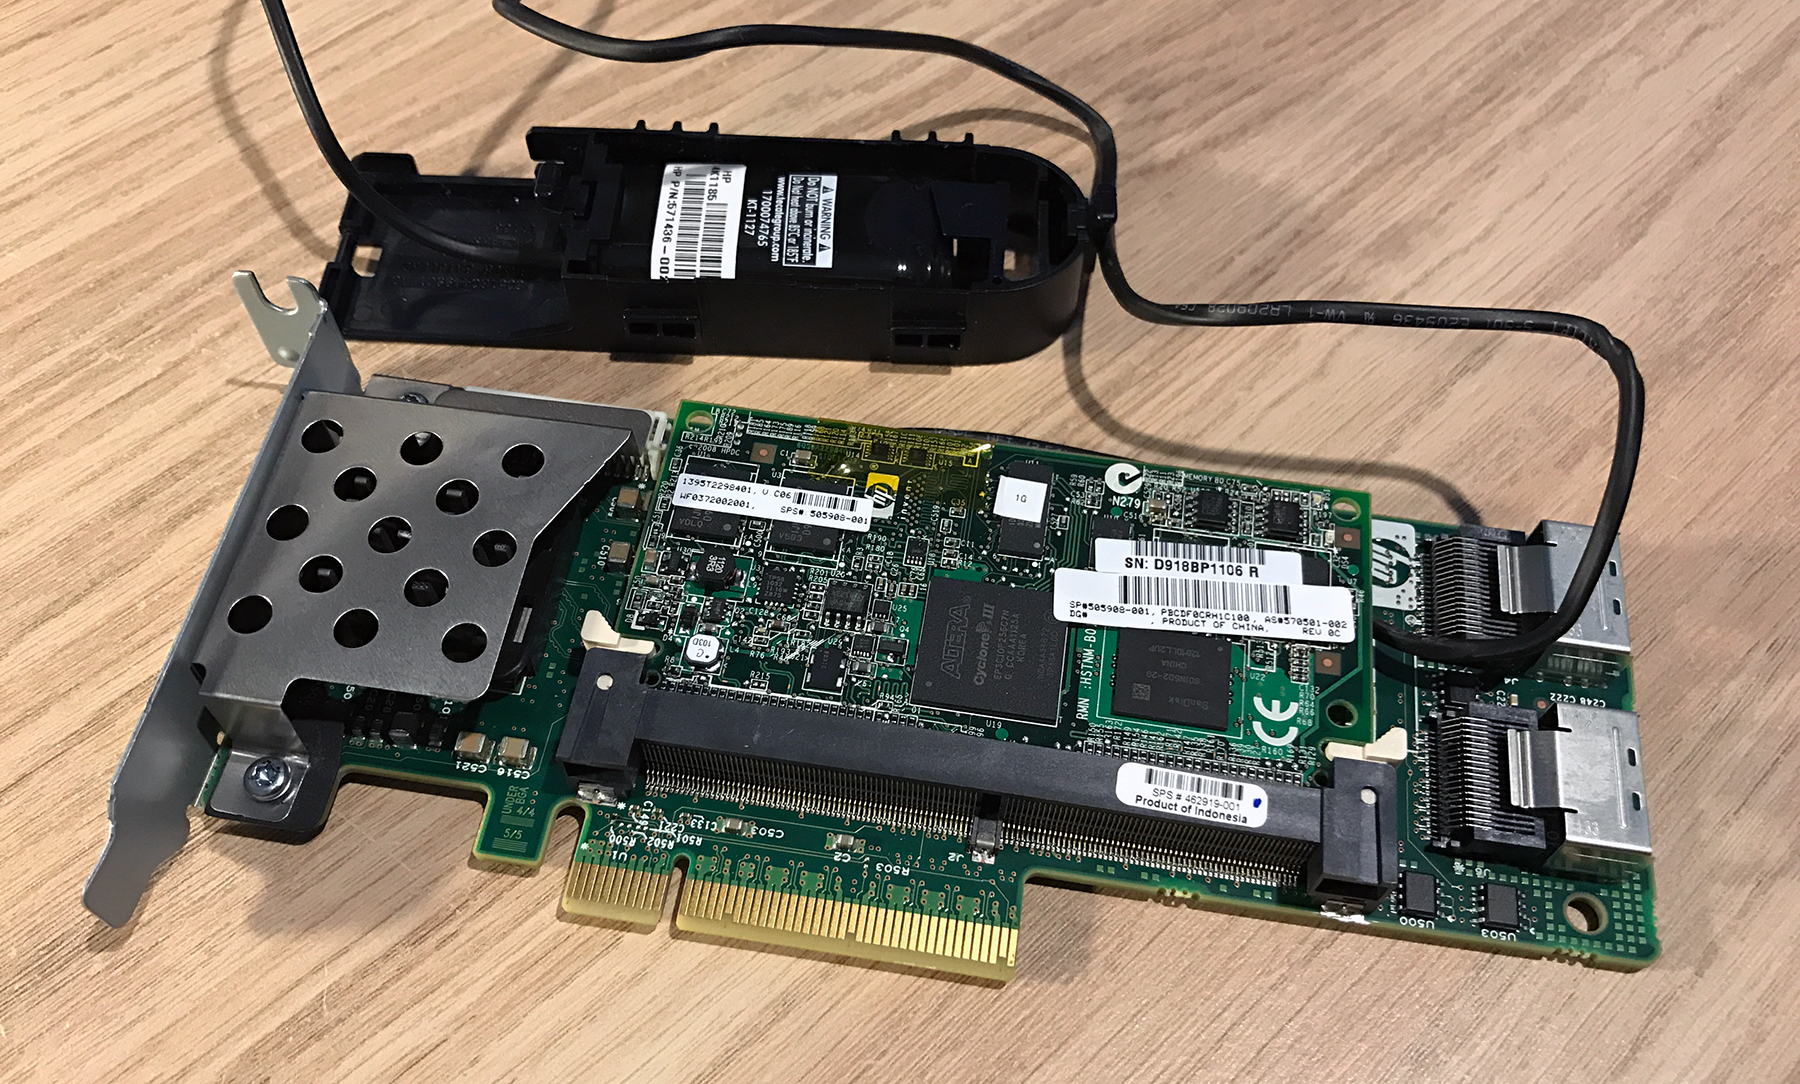
While it’s not on HP’s list of officially-supported RAID controllers for the Microserver Gen8, it fits great in the Microserver, works fine and doesn’t break the bank either - I picked it up for £50.
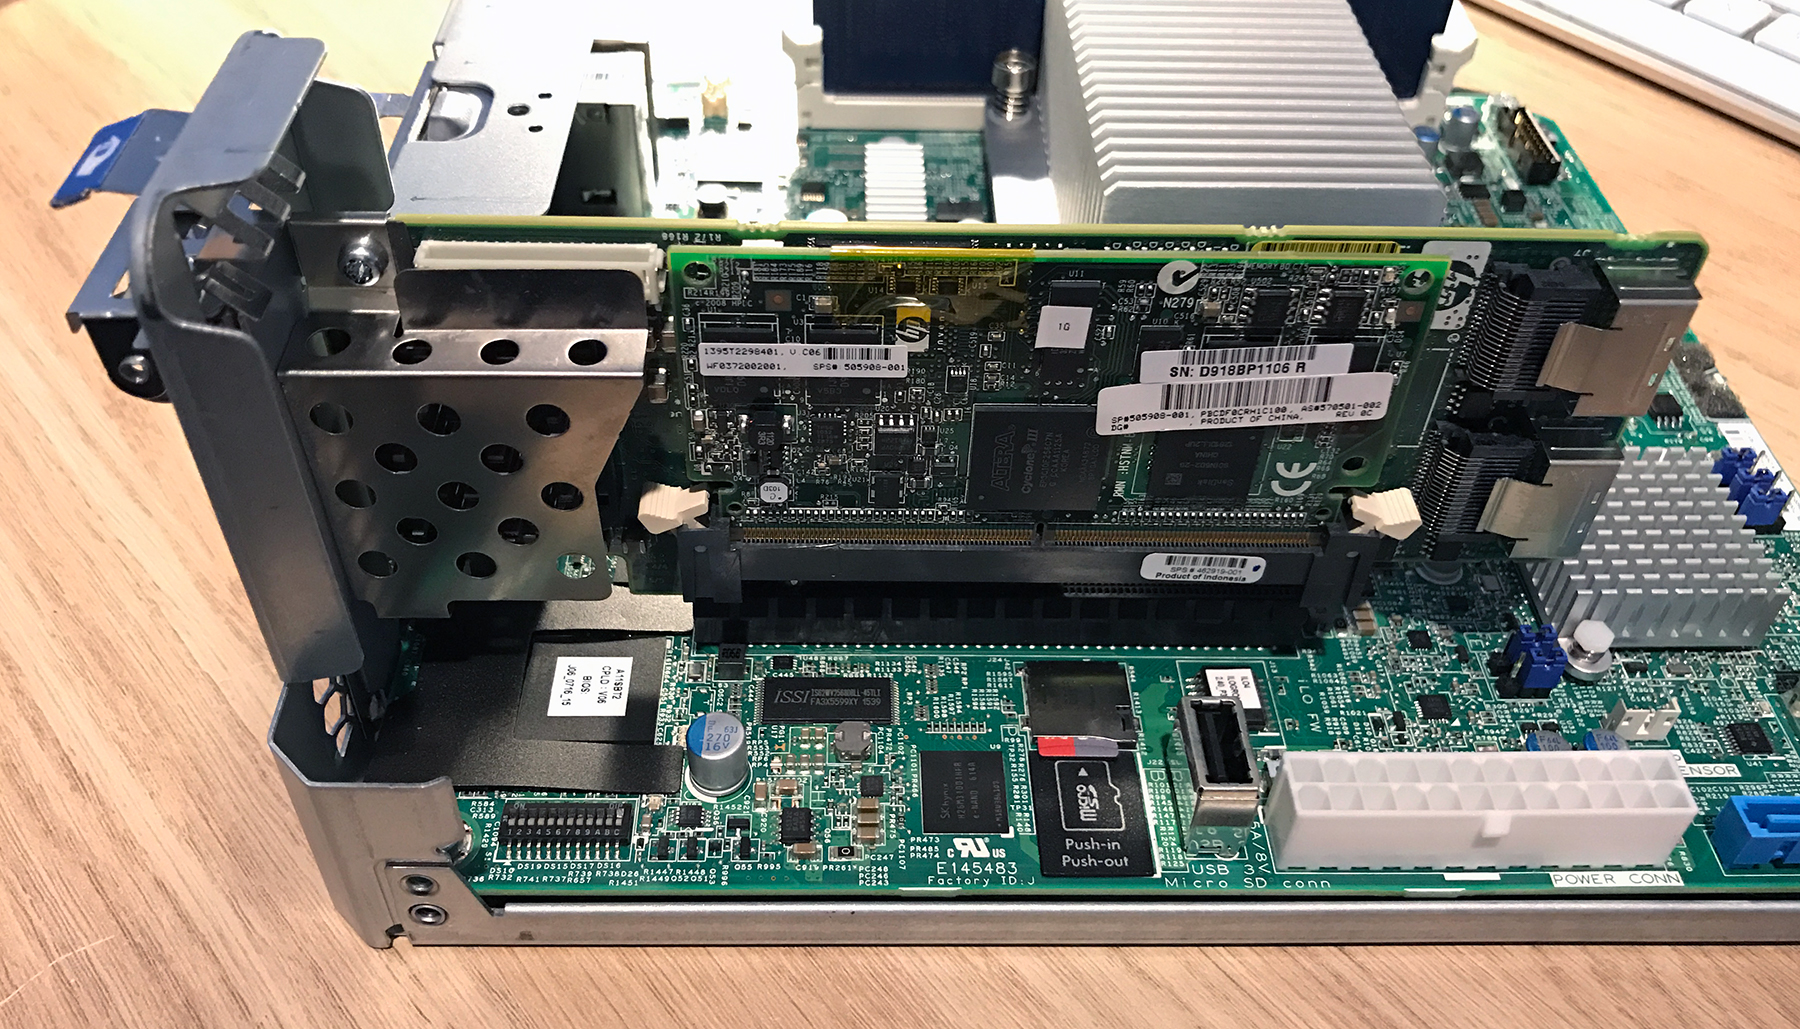
Installation is pretty easy. I just disconnected the Mini-SAS connector that links the SATA backplane to the main system board and plugged it into the P410 PCI card instead. There’s even a space in the top section of the Microserver for the FBWC supercapactitor pack.
I picked up 4 2TB Toshiba DT01ACA200 HDDs for £37.50 each from Aria PC UK - £150 total. Normally lower-end disks would put me off a little, but since they’ll be used in a RAID-10 setup, there will be some fault-tolerance to play with at least.
I wanted to use the full RAID-10 volume for the datastore for my ESXi virtual machines, so I took the approach of installing the VMware ESXi vmkernel itself on a microSD card. The Microserver Gen8 has a convenient microSD slot on the mainboard that you can boot from with no issues. You just need to remember to set the logs to write to a persistent datastore2 once ESXi is all set-up.

There’s also a USB-3 port inside too, if you felt like using that instead of a microSD card.
There’s also an additional SATA-3 port on the mainboard too that you can use to connect an additional SATA drive situated in the top section of the server in place of an optical disk drive. I’ve opted to put an SSD in there (just a cheap 40GB Intel one I had lying around). Even though the capacity isn’t substantial it can be used as a cache to improve the performance of ESXi virtual machines.
Build Cost
Overall, the system cost me ~£550 to build. I didn’t really use any sundries other than the occasional cable tie or SATA cable.
Energy
“It’s time to unplug these vampire appliances that plunge their prongs into our creamy white outlets to quench their unholy thirst for electrons.” - Homer J. Simpson
Energy economy was a major consideration for me while picking the hardware for my home server. While I’d love to have a DL380 Gen9 sat in my spare room, they’re total electron vampires - not to mention extremely noisy too.
With a simple power meter, I clocked the Microserver at 45W with no disks fitted, just sat in ESXi with no virtual machines running. With all four disks inserted and running, it dissipated 60W under the same conditions. At around ~£0.15/kWh, thats around £70 a year, which isn’t too bad at all. Of course you could remove some disks or swap them out for lower-power (and faster!) SSDs in exchange for a higher upfront cost.
-
I booted Debian (running on bare-metal, not as a virtual machine) shortly after installing the CPU and ran Prime95 for an hour or two. With an ambient temperature of 20°C, the CPU temperature was around ~50°C which is still well-within tolerances. ↩
-
https://kb.vmware.com/selfservice/microsites/search.do?language=en_US&cmd=displayKC&externalId=2032823 ↩