Hackintoshing
Recently my Mac Pro died. It seems to have developed an issue that causes it to eat graphics cards (that’s a whole separate post right there).
Not being impressed with Apple’s current “pro” offerings, I decided to do something unprecedented. I built a PC. However, not quite ready to leave behind the world of OS X just yet, I ventured into the unknown world of Hackintoshing.
First Steps
Picking the hardware was the first step. With some help from friends and PC Part Picker (great site for any PC build - hackintosh or not), I settled on a spec:
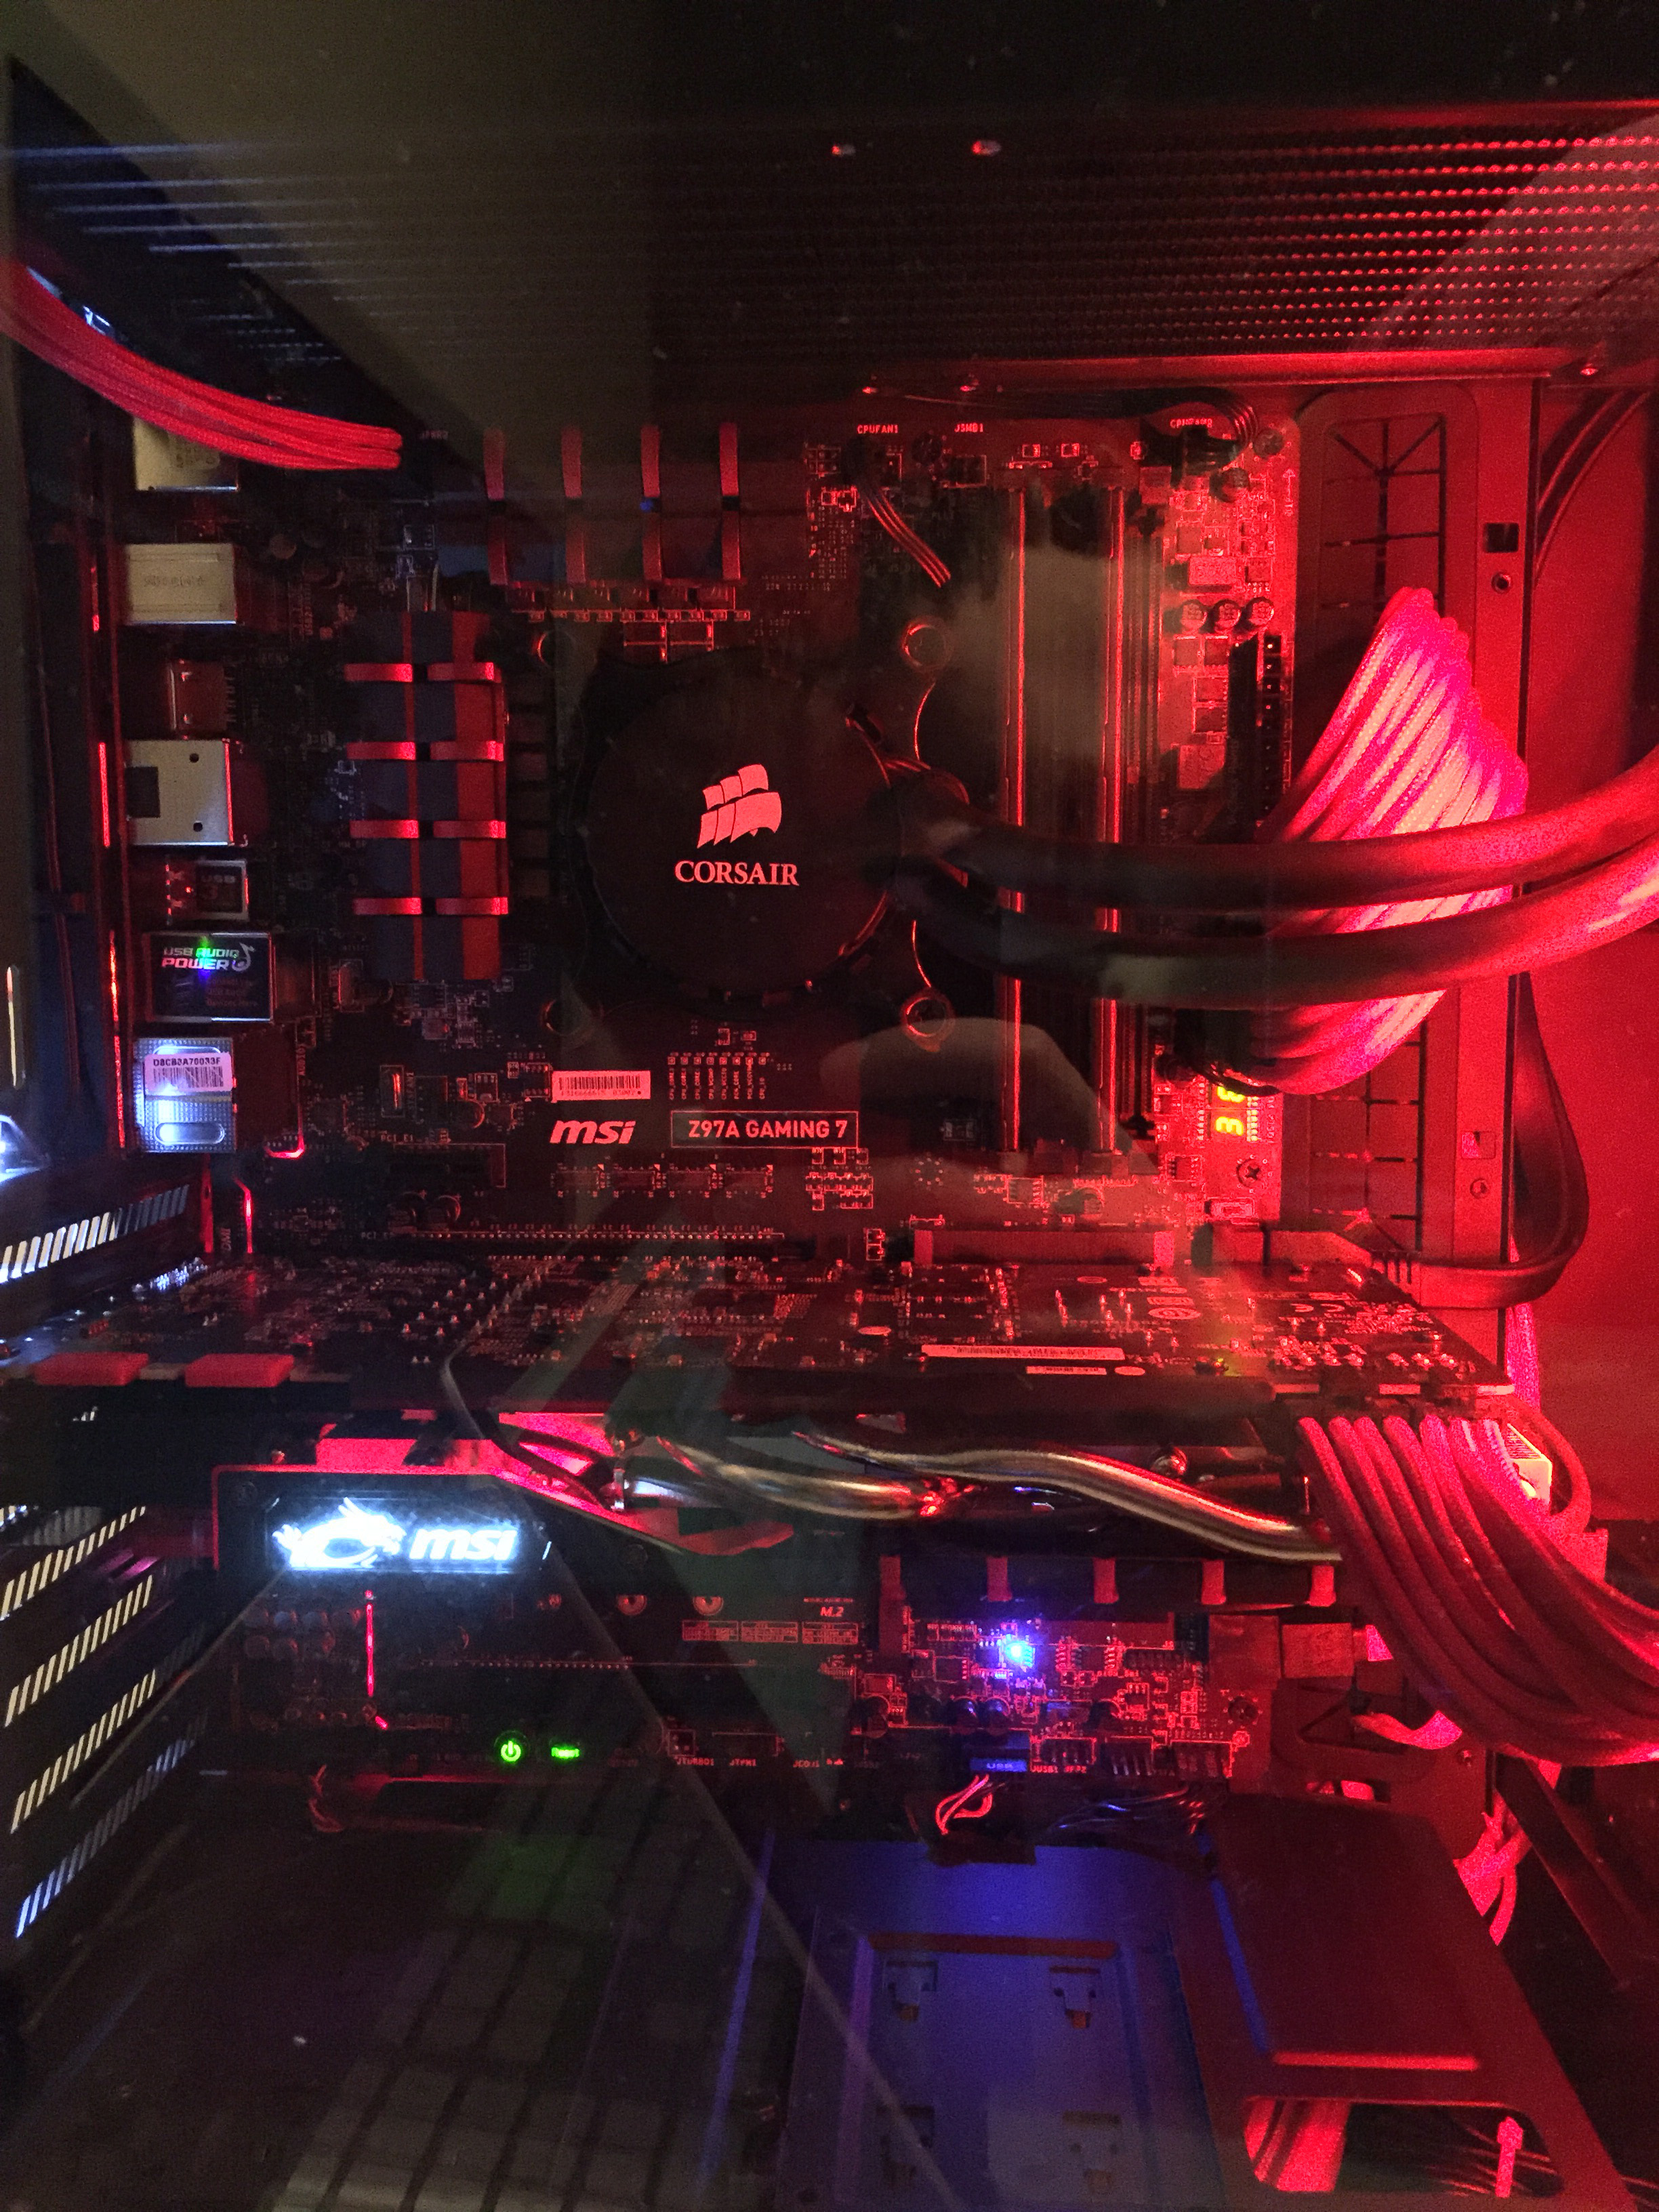
- MSI Gaming 7 (Z97) Motherboard
- Intel Xeon E3-1231 3.4GHz CPU *
- 16GB of 1600MHz DDR3 RAM
- MSI Twin Frozr GTX 970 4GB GPU
- Corsair RM750 Power Supply
- NZXT H440 Case - Red
- Corsair H110 Cooler
- Samsung 840 EVO SSD (256GB)
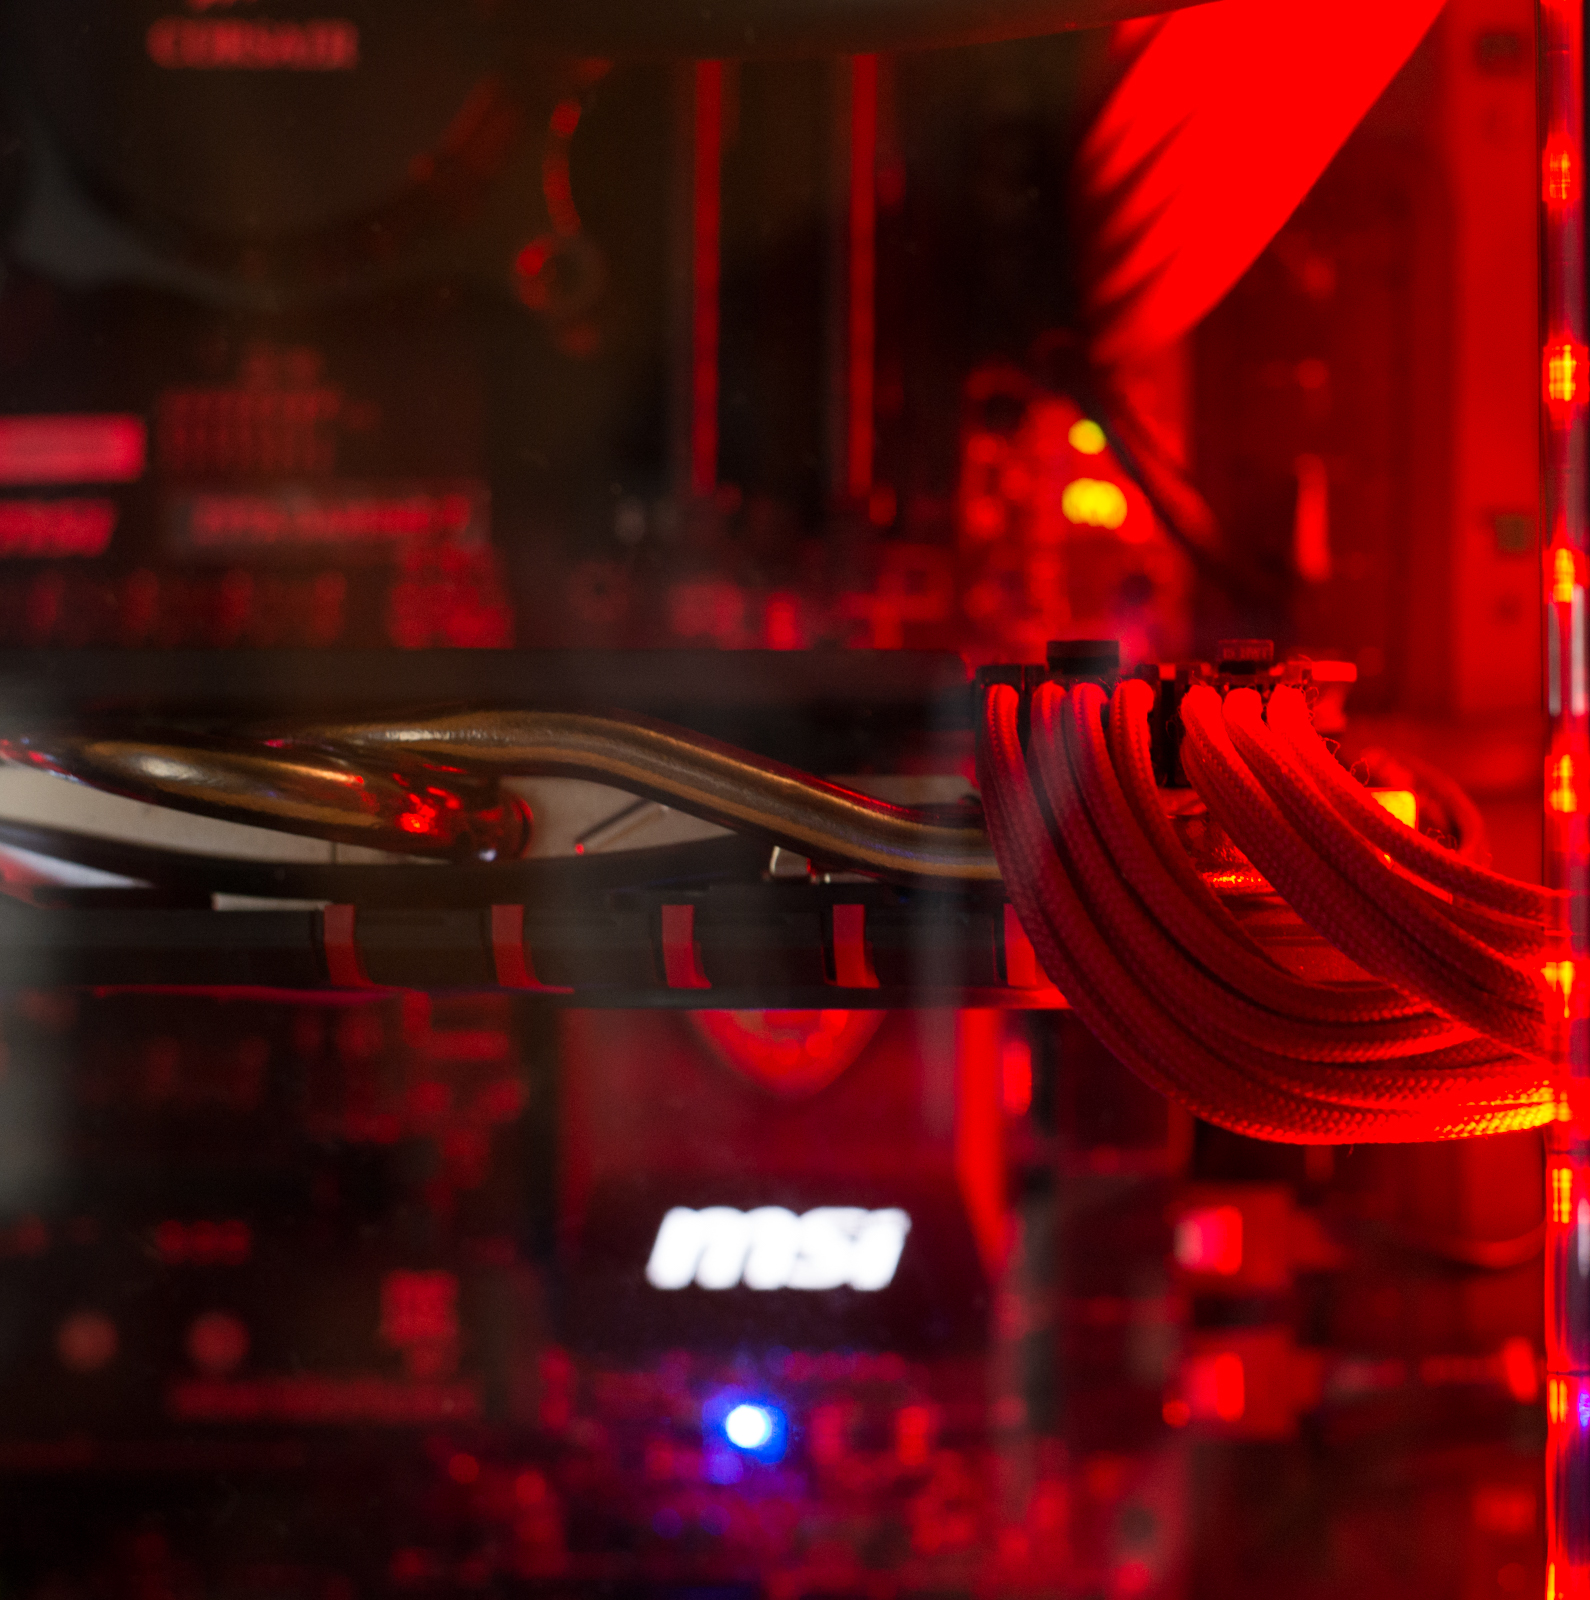
The machine looks great - I haven’t built a PC in a long time so I really enjoyed the build process. I might have gone a little over the top on some of the minor details, but meh, it’s fun.
* I went for the Xeon because it was quite a bit cheaper than the i7 equivalent. I don’t need the overclocking or integrated graphics offered by the i7 alternative, so it made sense.
I also spent a little cash on some braided cables, they look a lot nicer than the horribly shiny cables the Corsair RM750 power supply comes with, and they’re not too expensive.
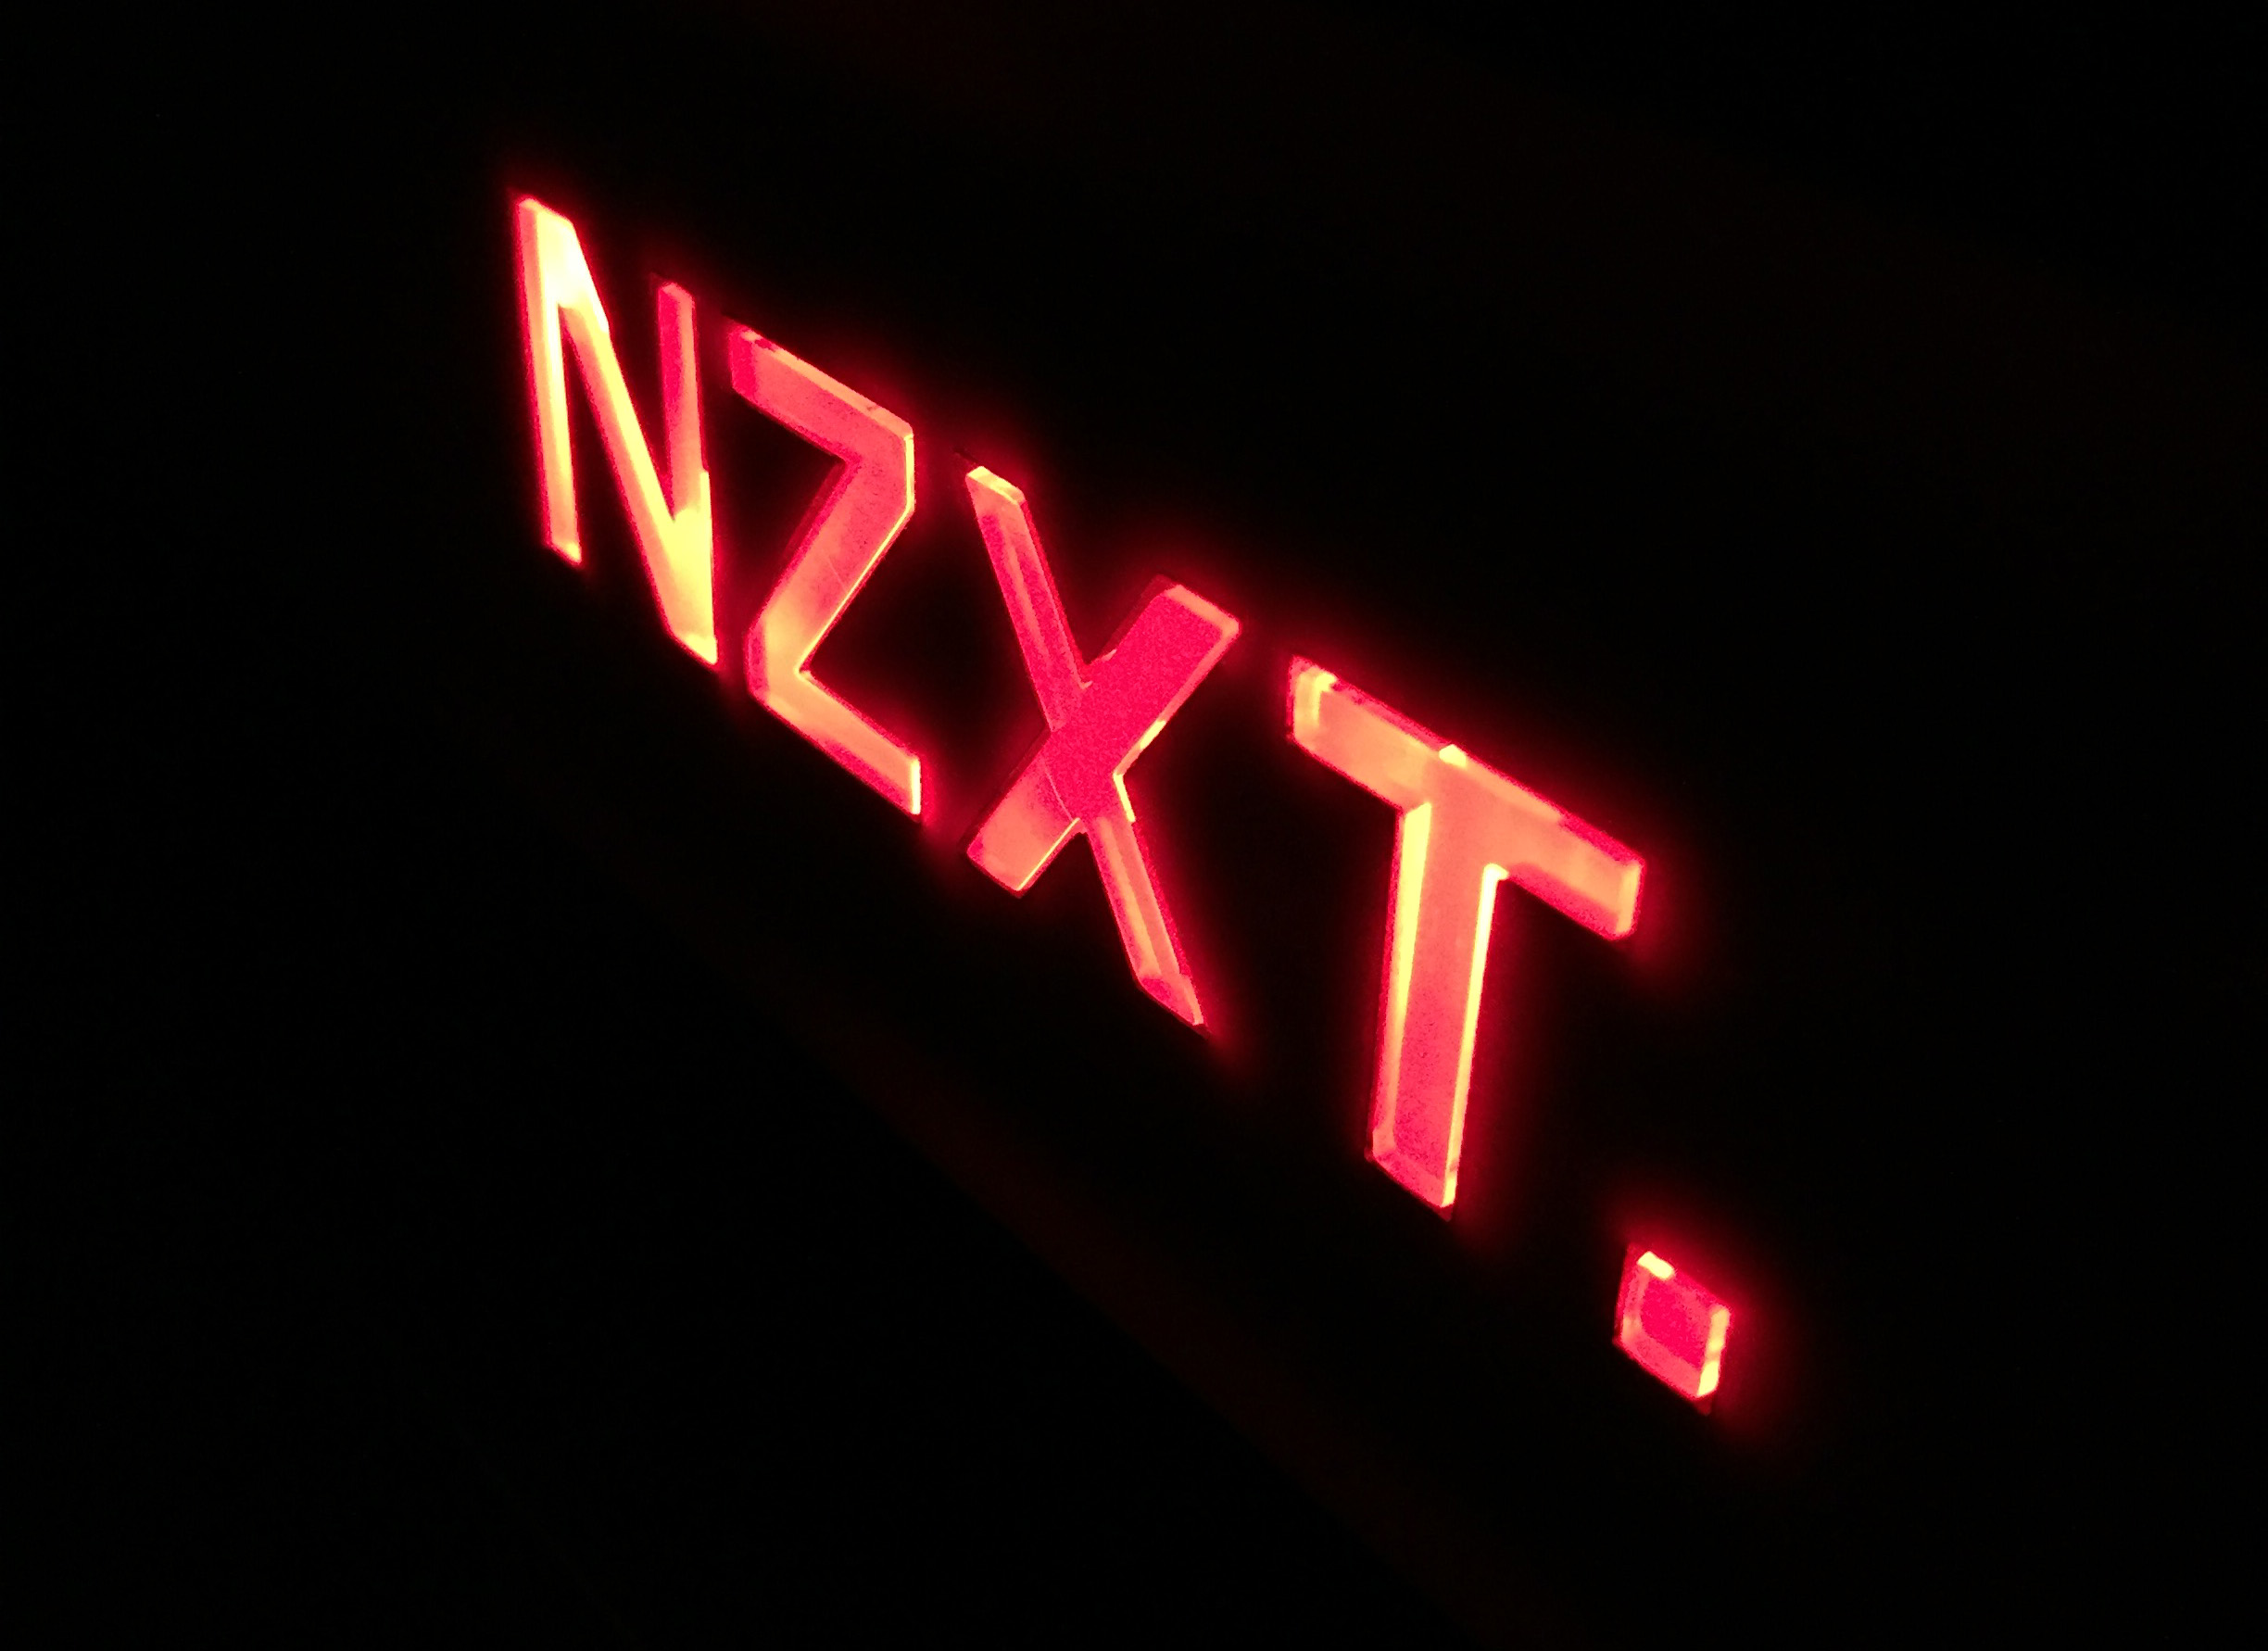
I put some effort in with some LED mods to the case - the “NZXT” logo was backlit with white LEDs before, which weren’t in keeping with the red theme, so I swapped them out with some 3mm red LEDs donated by a friend.
Installing
I decided to go down the Clover route to installing Mac OS X as the overall process seems to be slicker and require less tampering with the internals of the OS to get it stable than the alternatives (Unibeast and Multibeast, primarily).
I used Tonymacx86’s brilliant Clover installation guide - it covers the process of creating a bootable drive, booting from it and getting the correct kernel extensions installed or injected. I won’t repeat the contents of the guide here, but I will go into some post-installation tinkering tactics that I needed to employ to get everything running smoothly.
Required Tinkering
Not everything was straightforward. Getting the right combination of boot arguments was the real pain in the process. Eventually I settled on:
-v nv_disable=1 nvda_drv=1 kext-dev-mode=1
These arguments enable verbose mode and disable the built-in OS X NVIDIA drivers, falling back to a basic graphics implementation to get you started.
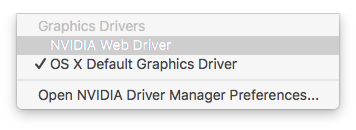
Once you get your installed OS X booting, you can download the NVIDIA Web Drivers (“web drivers”) and install them, making sure to switch over to the NVIDIA Web Drivers using the toolbar menu item as soon as this is done. When you reboot, the graphics system should behave as usual.
Once you’re booted, it’s worth checking your peripherals to make sure everything is working like it should - I noticed a few problems with USB audio, particularly after sleeping, until I changed my SMBIOS. Read on for more details on all this.
I also had to make a minor patch to the IOAHCIBlockStorage kext in order to enable TRIM support for my installed SSDs. This is quite an easy change to make - under the KextsToPatch subkey of the KernelAndKextPatches top-level key within config.plist, add:
<dict>
    <key>Comment</key>
    <string>Trim Enabler</string>
    <key>Find</key>
    <data>
    AEFQUExFIFNTRAA=
    </data>
    <key>Name</key>
    <string>IOAHCIBlockStorage</string>
    <key>Replace</key>
    <data>
    AAAAAAAAAAAAAAA=
    </data>
</dict>
Useful Tools & Links
Once you’re up and running with Clover, a great tool I found for making changes to your Clover configuration (EFI/CLOVER/config.plist) is Clover Configurator. This tool lets you view your config.plist in a more visual format, using a GUI to modify your bootloader configuration.
Where Clover Configuration falls down is around some of Clovers more unusual options, for these I found the Clover Documentation on the structure of config.plist really handy.
An additional thing that people seem to have problems with is iMessage. Apple tries to make sure you’re running iMessage from a legitimate Mac (I guess mainly to avoid spam problems, but probably also to enforce the terms of their EULA). I found this Reddit thread really handy in setting up iMessage.
El Capitan Woes
Shortly after I built my Hackintosh, OS X 10.11 (El Capitan) was released. After reading around, I discovered that there was actually very little required in the way of setup in order to update from 10.10 Yosemite to El Capitan.
If only things were so easy.
After the installation, USB just didn’t work. My keyboard and mouse didn’t function. Apparently Apple introduced some code into their rewrite of the USB stack in El Capitan that limits USB port availability based on SMBIOS identity. I found a good amount of help in a forum thread that solved the problem after almost two evenings of messing around. Changing the SMBIOS to an identity as representative of your hardware as possible is also a good move, this solves a lot of problems. I went with MacPro3,1 for my setup.
Even the installation itself was rocky too - I had difficulties getting the installer to boot or display any graphics, eventually having to use the original kernel boot args I used when I first installed OS X, prior to installing the NVIDIA Web Drivers.
Final Thoughts
I’m happy with the hardware. Looks great and runs far more reliably than my ageing Mac Pro.
The software - meh. Between the USB issues after the El Capitan issue and the general feeling that it’s not particularly solid as a setup, I’m not sold. I think I might buy myself a new Samsung M.2 NVMe SSD and install a nice Linux distribution like Debian. See how well I can fair without OS X for a month or two.